In today’s article, I will explain using a barcode scanner with our inventory software. You can use it to lend books, videos and any other items as well.
If you do not use LendItems yet, click the button below and register:
A barcode scanner is a great tool to help you manage your library of items effectively. In essence, a barcode scanner reads and outputs letters in numbers. You can do the same thing manually but there are two advantages of using the scanner. It saves a lot of time – scanning a barcode takes only a fraction of a second.
Also, if the barcode is clearly printed, the scanner will read it without any errors. As we know, typing things manually is prone to many typos and errors 😀
Barcode scanners are very affordable. For the purpose of writing the articles and making tutorials, I bought mine on Amazon and paid for it only £12. So no matter what sort of inventory you manage with LendItems, I encourage you to use barcode scanners.
What you need to have:
Basically, for everything to work well with our software, you need to have these 3 things:
- a barcode scanner
- library cards – plastic cards with unique barcodes that you will give to the users
- unique barcode stickers – you will attach them to the items you lend (I will publish another tutorial soon on how to create them)
How to use the barcode scanner to lend books
For LendItems to work, every book in the library and every user needs to be identified by a barcode. Before adding a new book, stick a sticker with a barcode to it.
Then, as indicated below, move the cursor to the barcode field and scan the barcode with the scanner. Code OK message should appear (if the barcode is not unique, an error message will appear).
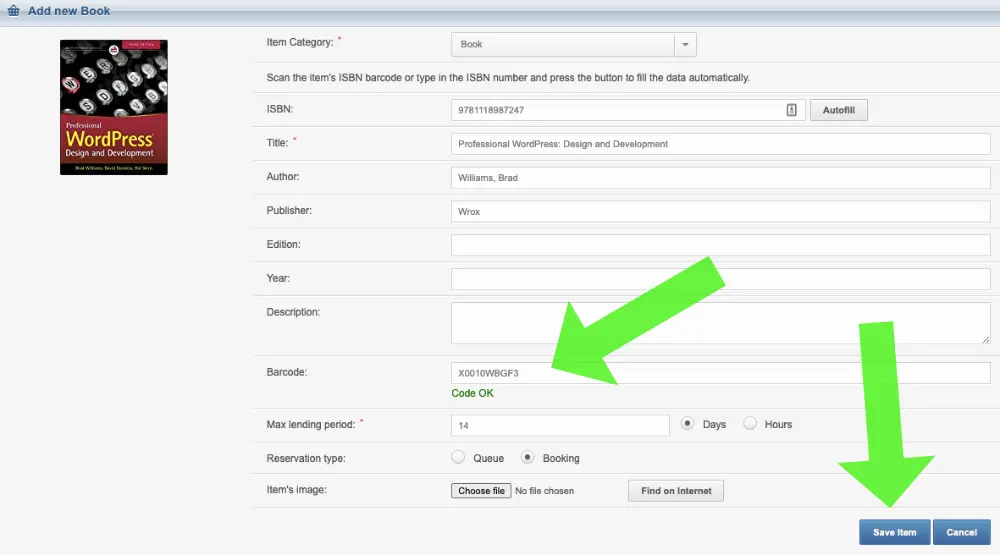
If you have some existing books without the barcodes, do not worry. You can edit them and add the barcode at any time.
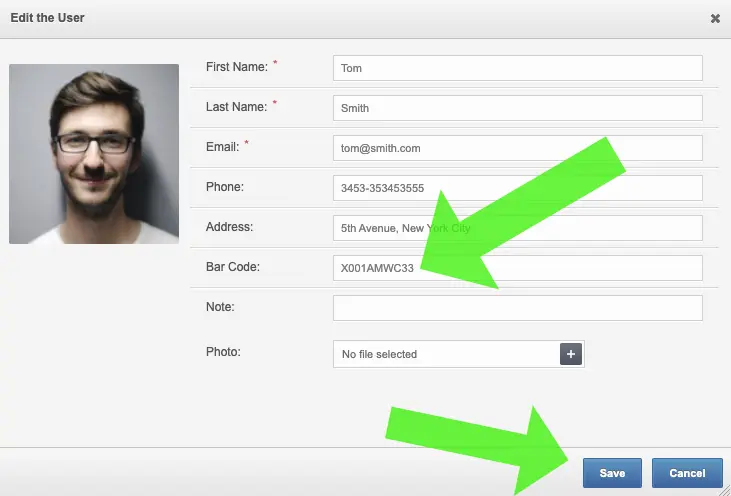
You need to do the same for the users. Add a barcode when creating or editing, the user by scanning their library card:
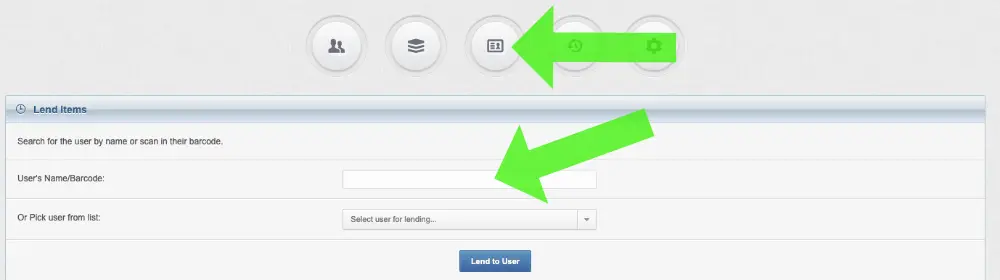
Lending a book now is very easy. Go to Lend Items tab in the menu and quickly find the user by scanning his/her library card:
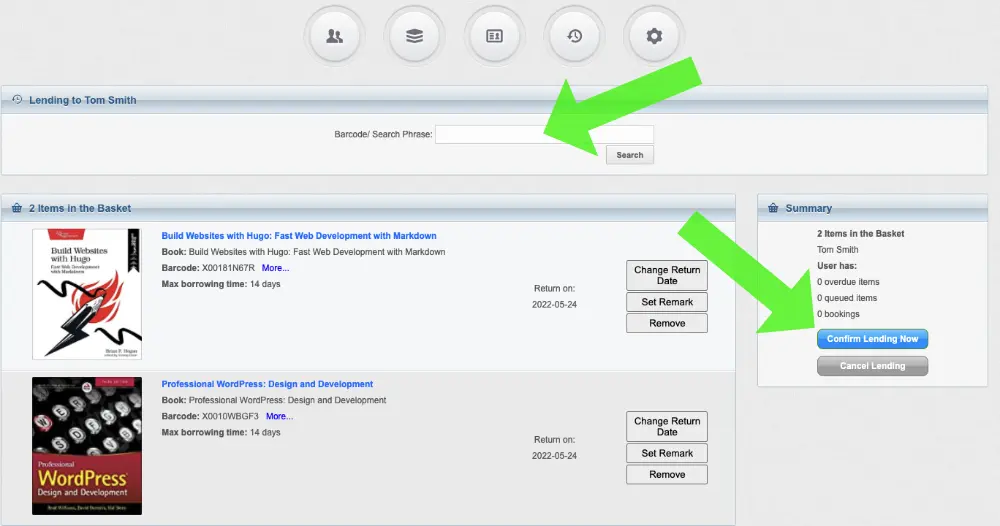
A new screen will appear. Now scan the book or a few books you want to lend and confirm lending by clicking Confirm Lending Now button.
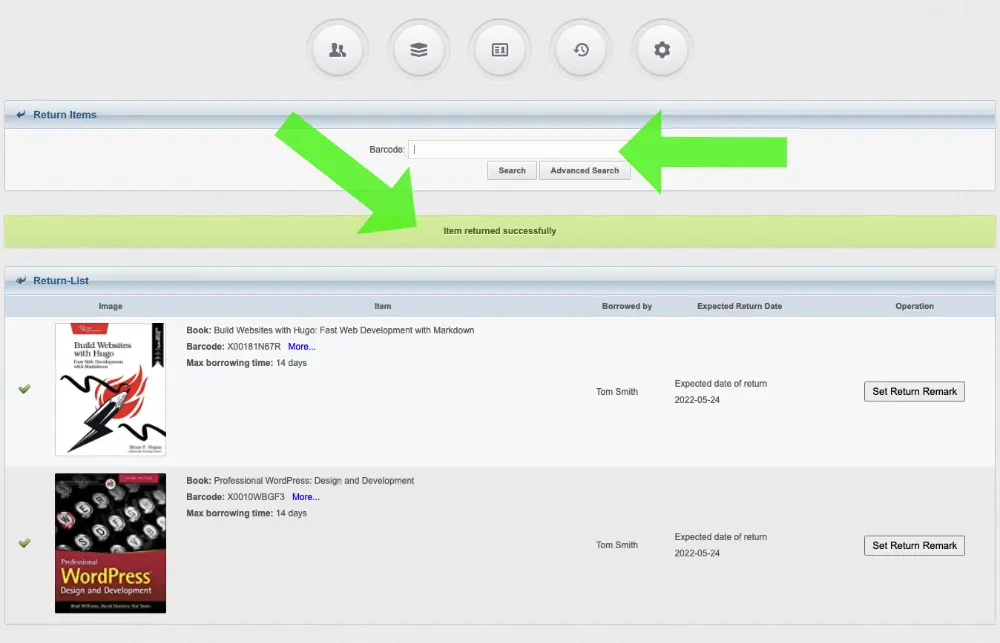
All the books will are lent now. To return the books, head to Return Items in the menu, and scan all the books that are being returned (there is no need to scan a library card at all):
I have created a short video where I go through all these steps myself. Please have a look:
As you could see, LendItems works very well with a barcode scanner and I hope I have encouraged you to use it. Please feel free to post any questions you might have below or contact our support team.